4Likes 4Likes
 |
|

19 Dec 2014
|
|
Registered Users
Veteran HUBBer
|
|
Join Date: May 2012
Location: Lithuania
Posts: 204
|
|
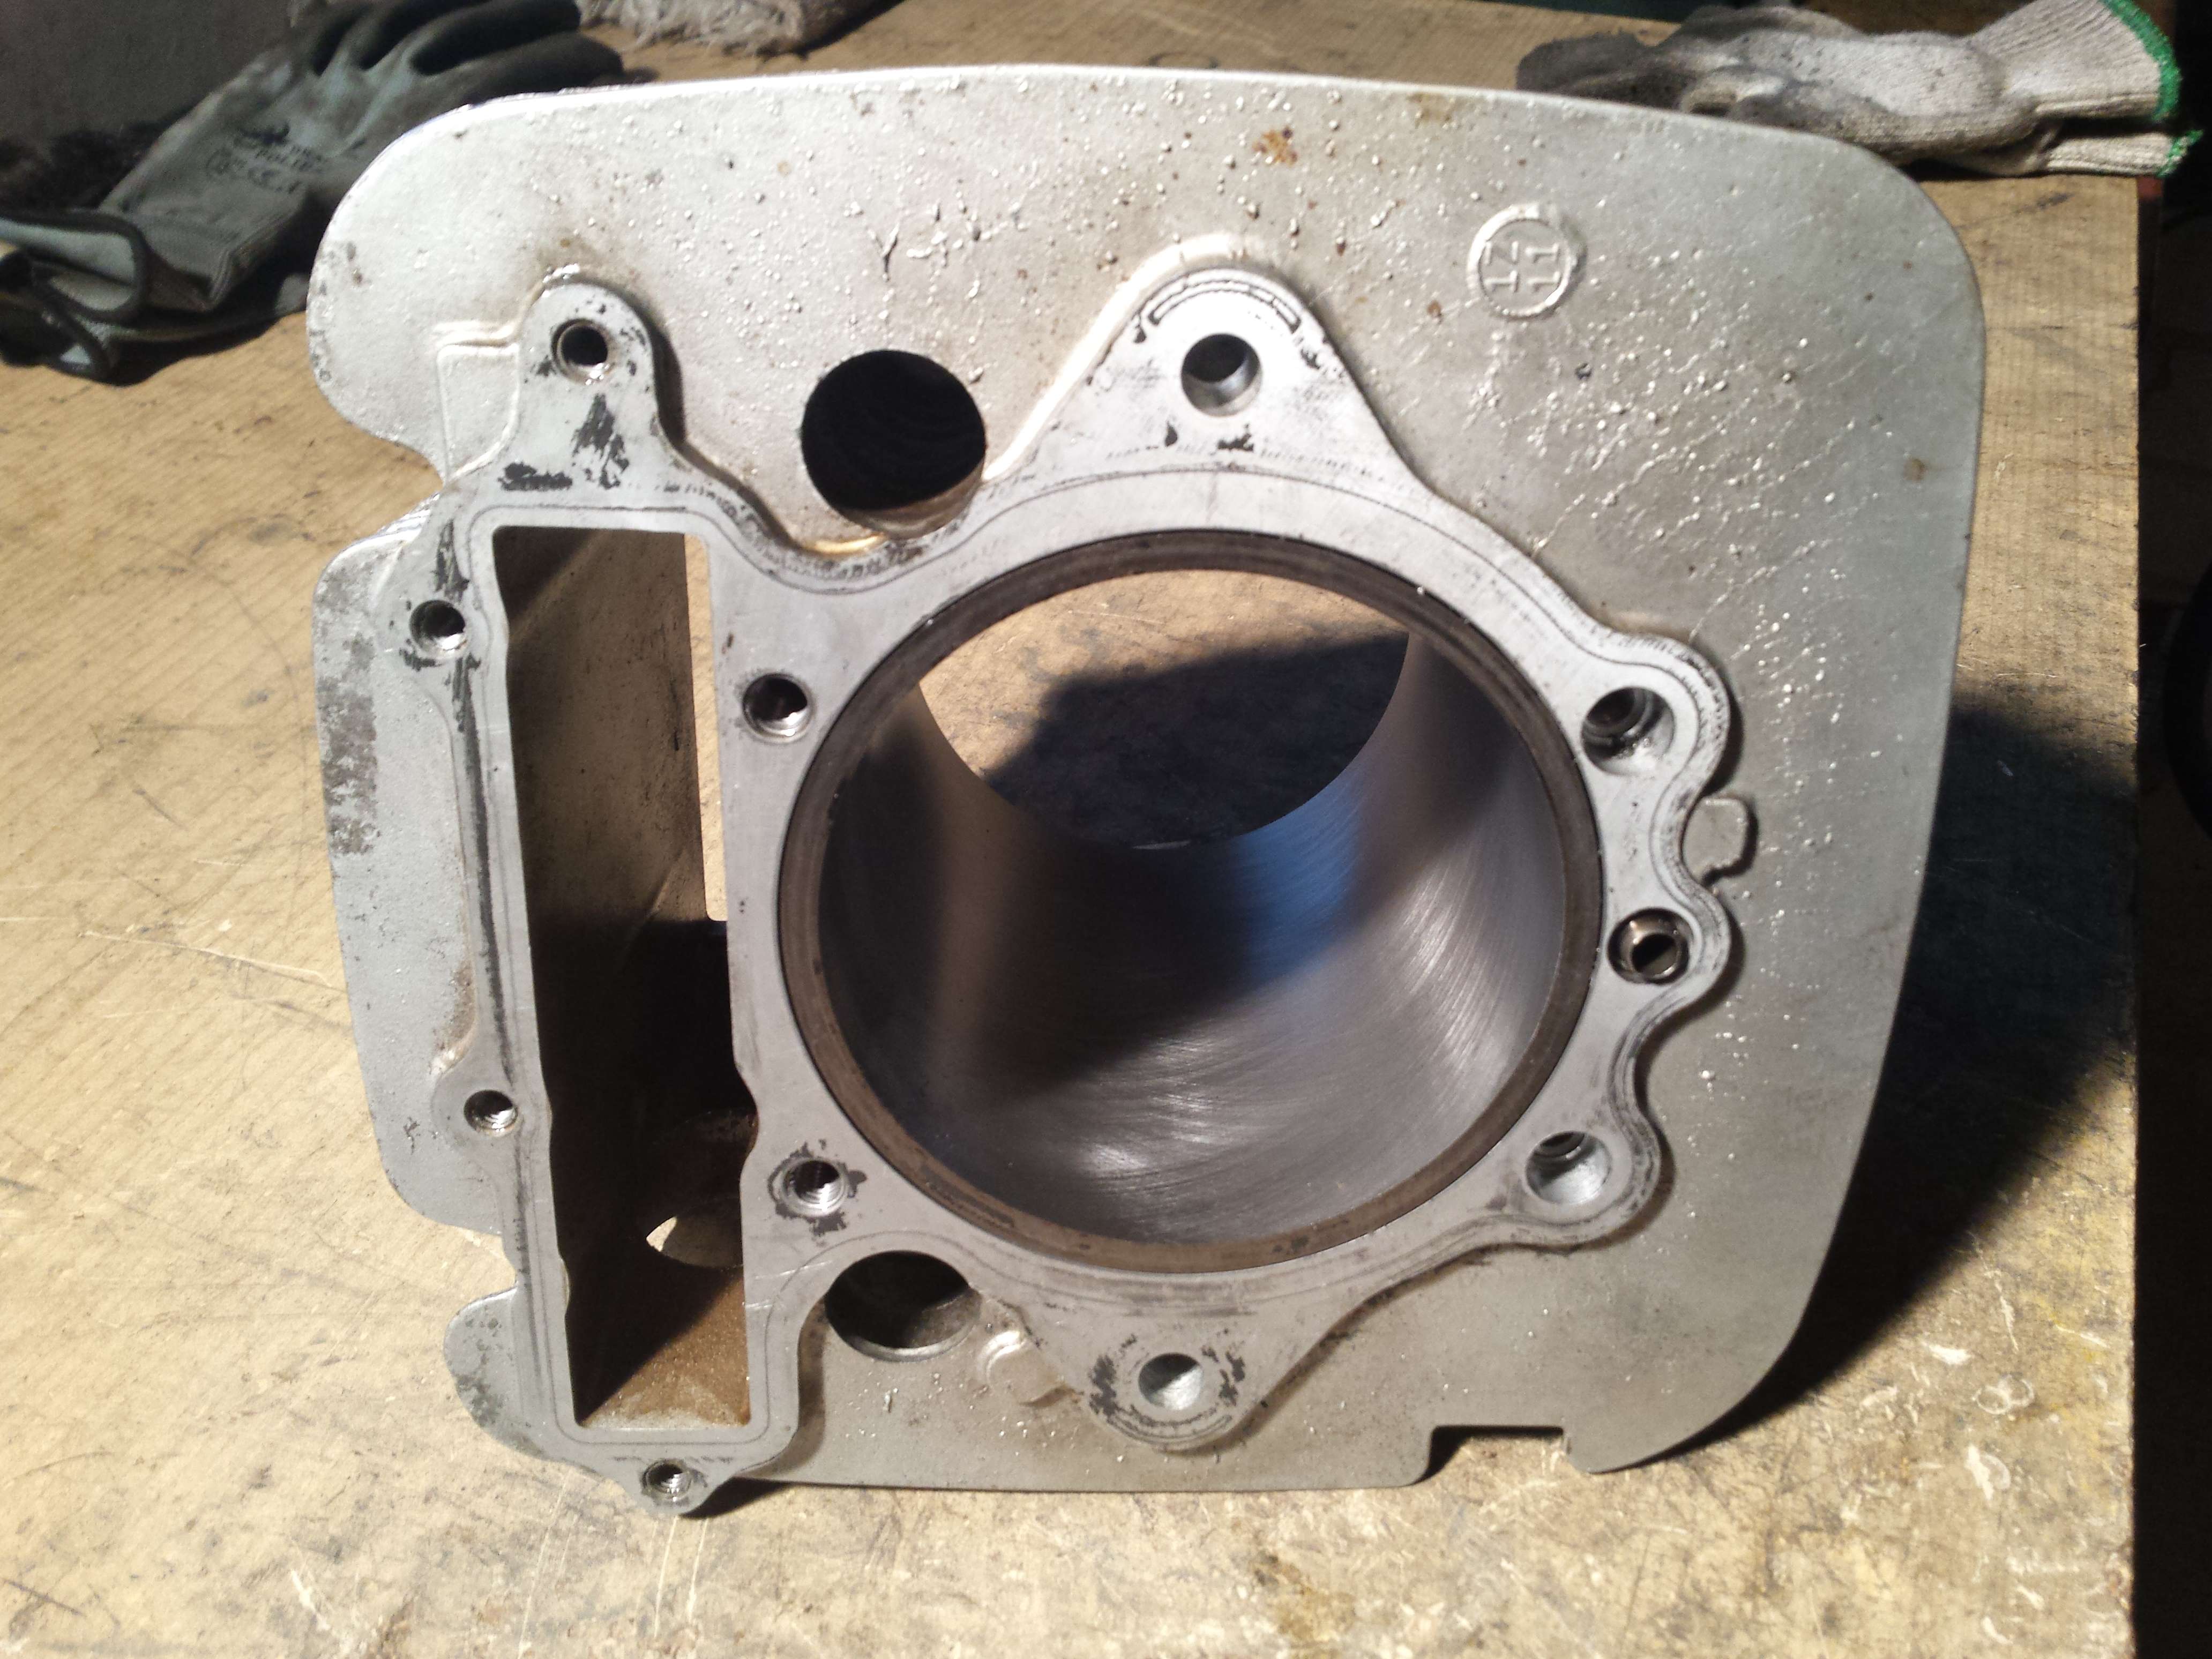
The rebuild is going slow due to work, but I should finish it when the warm weather - the riding season comes 
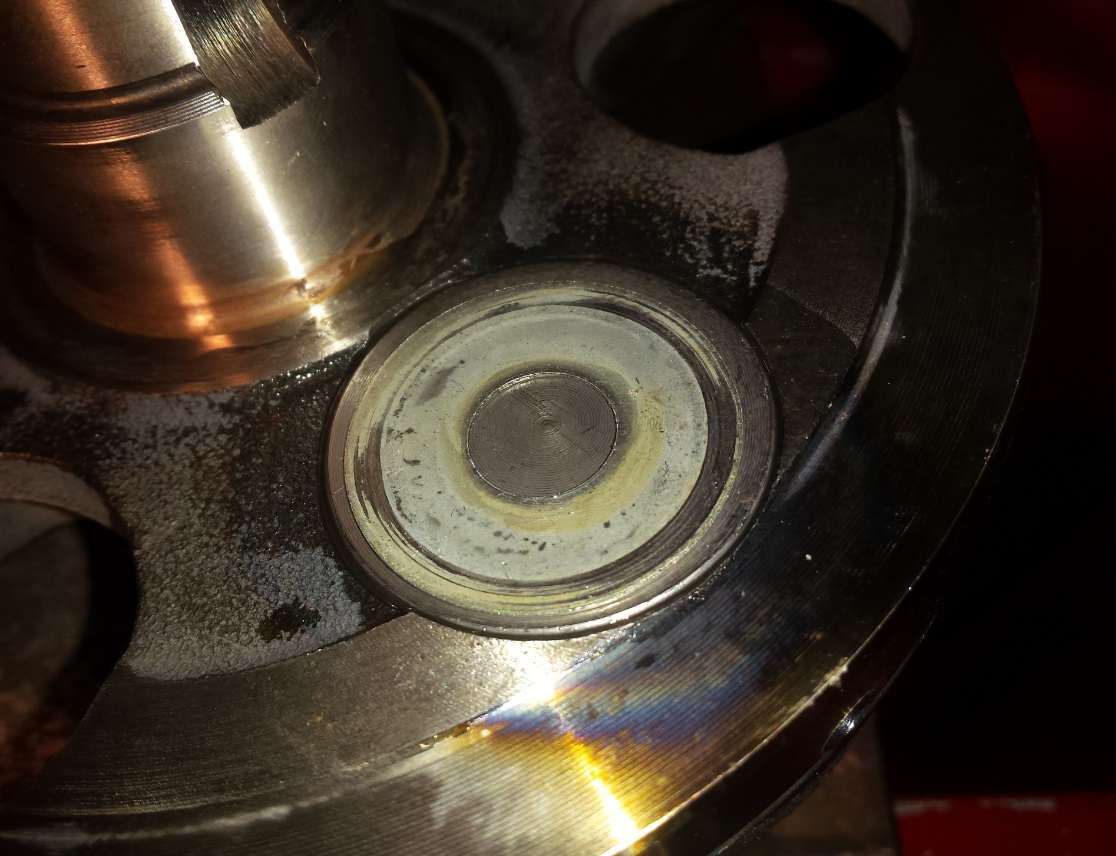
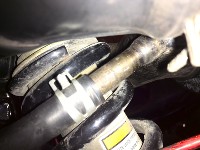
Meanwhile, here's a pic of the sweet sweet honed cylinder.

|
19 Dec 2014
|
|
Registered Users
Veteran HUBBer
|
|
Join Date: May 2013
Location: Wisconsin, USA
Posts: 827
|
|
|
When I bore my cylinders I take a face mill and just kiss the top gasket surface to make them perfectly flat and square with the bore. .003" is all need usually unless a person wants to up the compression just a bit, I've taken .012" off my last one and slotted the cam sprocket holes so timing can be adjusted. Usually non of this is necessary but I'm anal about stuff like that.
I'm keeping an eye out for one of those Aprilla sidestands , most are way different than yours.
|
23 Apr 2015
|
|
Registered Users
Veteran HUBBer
|
|
Join Date: May 2012
Location: Lithuania
Posts: 204
|
|
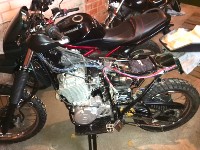
Soooo... back to the bike, during my free time.
The engine is completely disassembled.
I've bought a gasket kit, Athena. Also all the oil seals of the right dimensions.
As for the engine bearings I decided to keep the existing bearings, as they are in perfect condition.
As well as all the gears and stuff. Everything looks great, I'm happy.
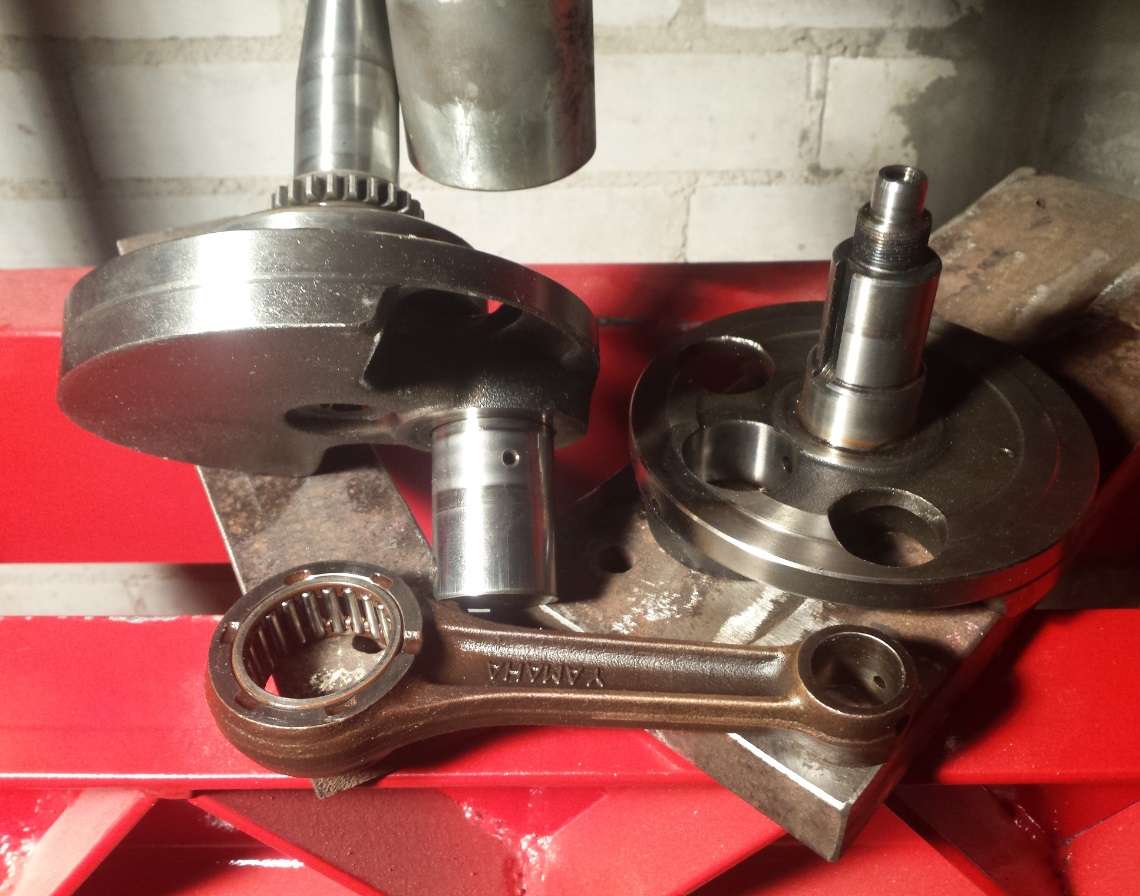
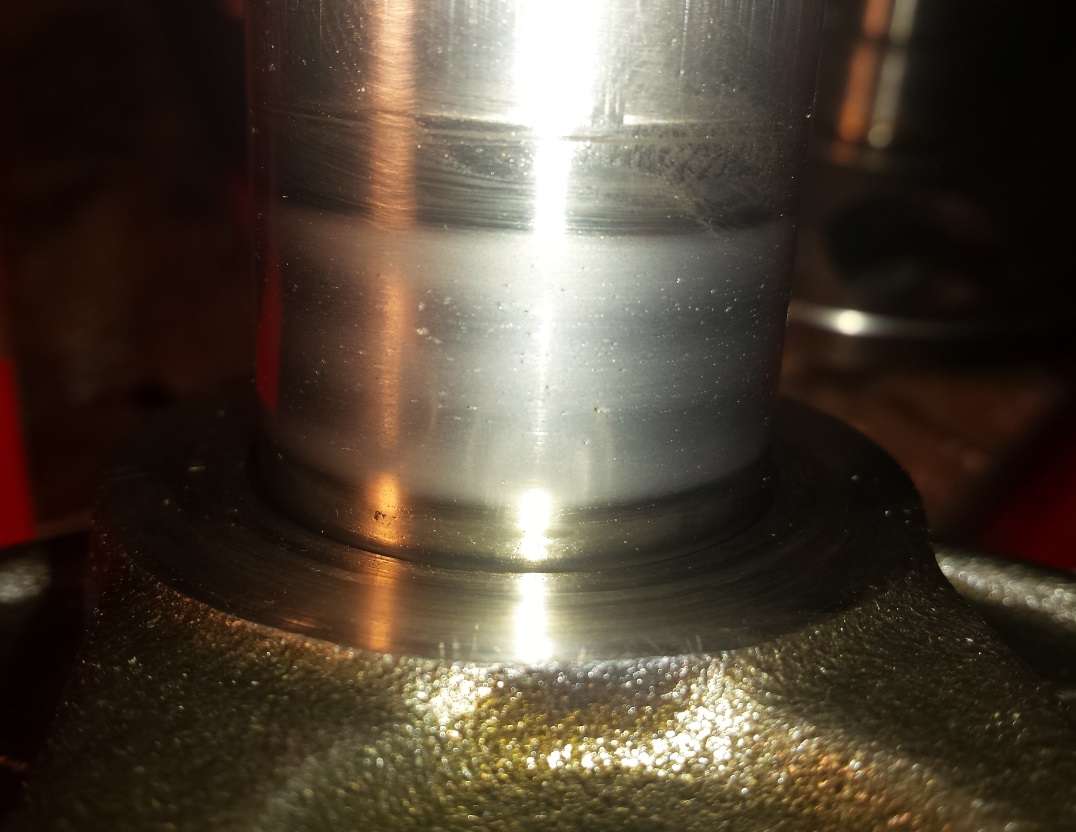
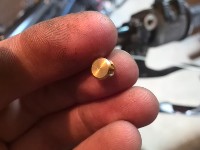
The flywheel would not require a rebuild if not for the piston pin seat... it got a bit scored and the play (of the new piston pin) in the old con rod is too big compared to a play in the new con rod.
The bearing in the con rod had no play, and I would not have gone to lengths to rebuild it. Only when disassembled the crankshaft showed some wear.
It took 7 tonnes on one side and 10 tonnes on the other side to press out the con rod bearing pin.
I've ordered a micrometer and two micrometer holders (because one micrometer I already had). Should arrive next week.
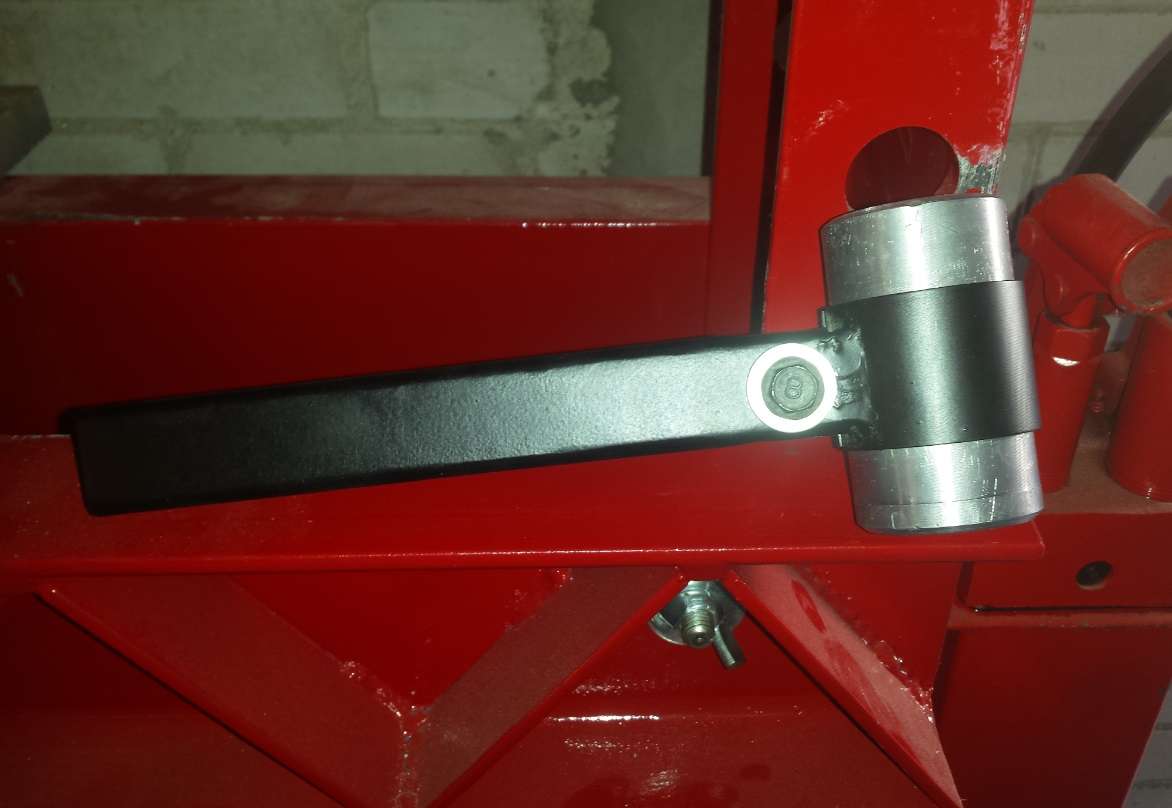
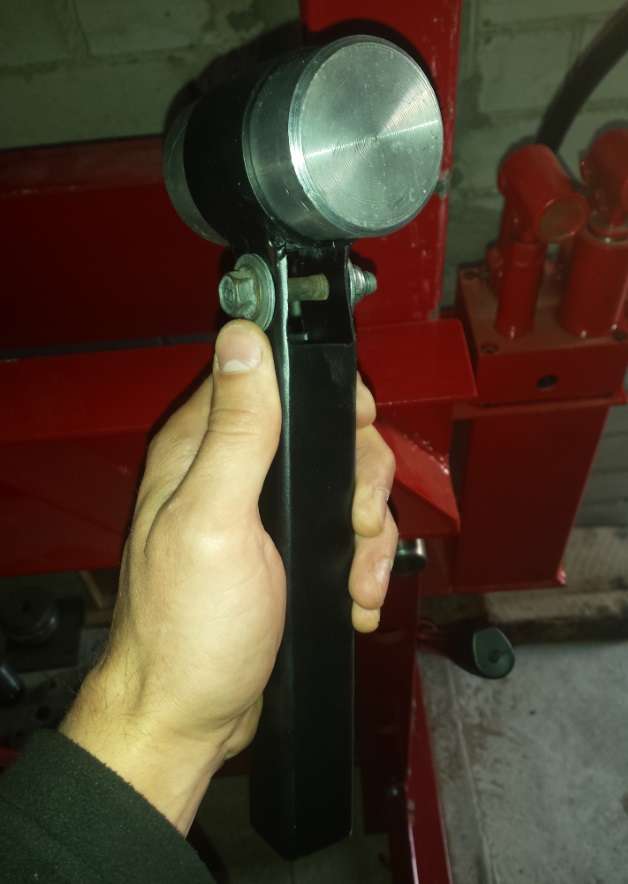
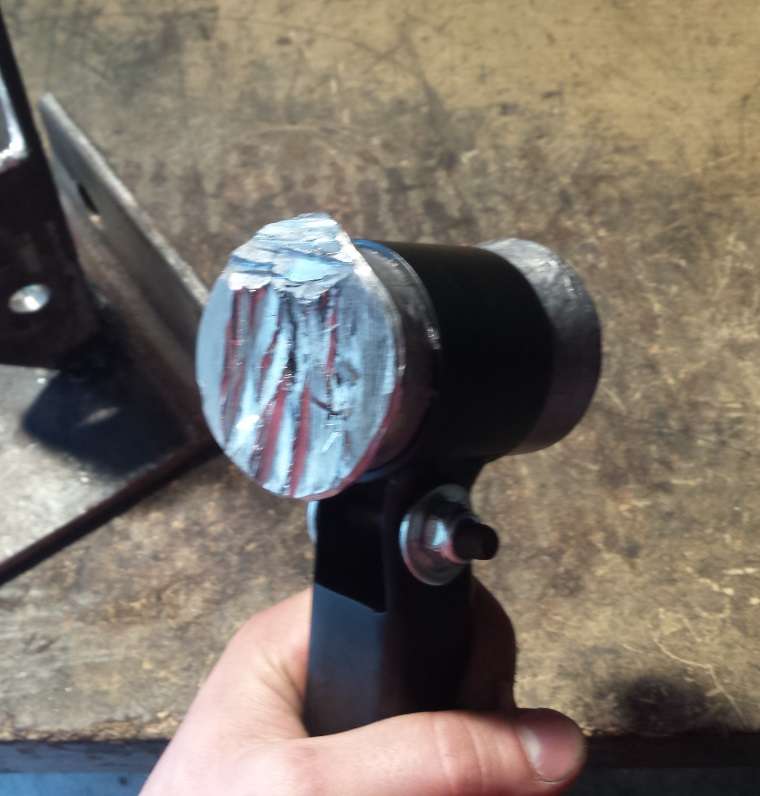
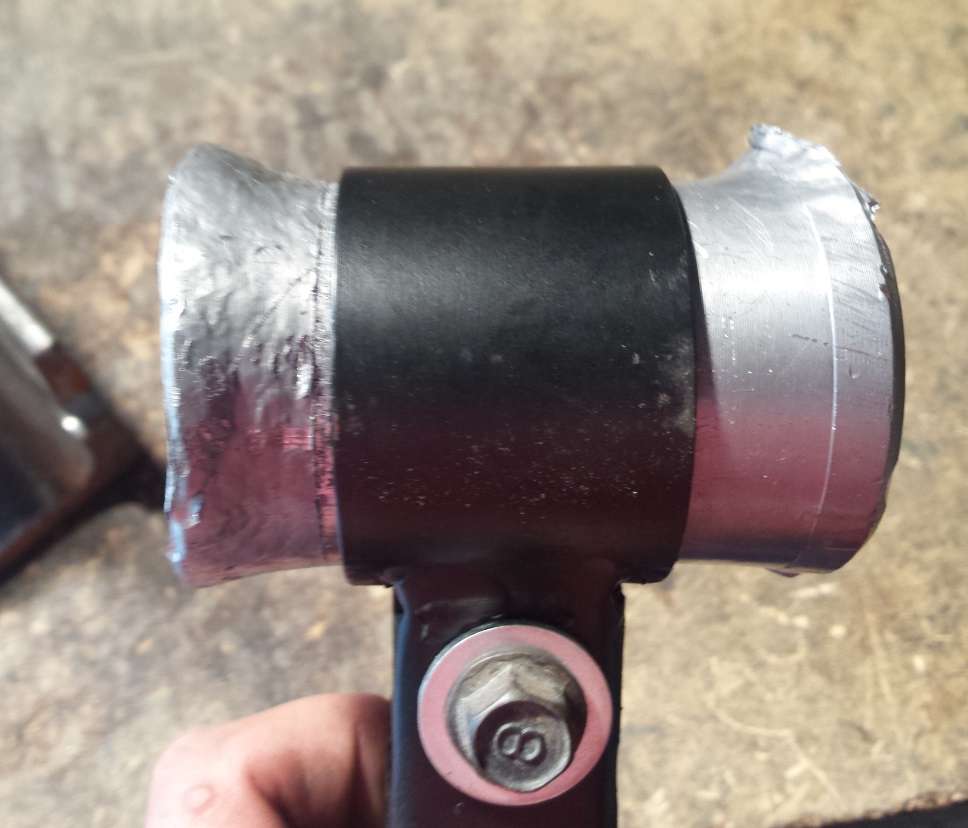
In the meantime, today, I made myself a led hammer. I'll need that later on to true the crankshaft. Probably next week.
So now what still waits:
rebuild the crankshaft
strip off the old paint off the engine
re-paint the engine
re-assemble it
rebuild the cylinder head and give it some porting
Not much, but with little time it's not going to be done soon. But I hope I'm wrong
|
23 Apr 2015
|
|
Registered Users
Veteran HUBBer
|
|
Join Date: May 2013
Location: Wisconsin, USA
Posts: 827
|
|
|
How are you planning to press the crank back together perfectly lined up with each other, it is critical in pretty much every aspect to be aligned, not just straight. I've seen plates with the shape of the crank hubs for the top and bottom of the press so both halves are trued when they go together. I'd love to setup for doing these, be easy to do stroker cranks then !
|
24 Apr 2015
|
|
Registered Users
Veteran HUBBer
|
|
Join Date: May 2012
Location: Lithuania
Posts: 204
|
|
I don't have any cleaver jig to help me out, and I don't have the materials at the moment to make one. So I'll need to figure it out as I go.
Even if I would have a jig, the crank would still need to be trued with the two micrometers (one might be enough though) I have ordered and a led hammer that I made from scraps yesterday (copper hammer would do just fine too, or even better).
I think I'll do something like this (start watching at 3:40):
https://www.youtube.com/watch?v=HxcWz4D7BmA
And truing:
https://www.youtube.com/watch?v=saARVyy4pdY
|
24 Apr 2015
|
|
Registered Users
HUBB regular
|
|
Join Date: Oct 2013
Posts: 77
|
|
Kind of surprised you didn't drop the motor.
Is there enough room for me to do base gasket with motor still in frame?
|
24 Apr 2015
|
|
R.I.P. 25 November 2021
Veteran HUBBer
|
|
Join Date: Feb 2010
Posts: 688
|
|
Quote:
Originally Posted by jjrider

How are you planning to press the crank back together perfectly lined up with each other, it is critical in pretty much every aspect to be aligned, not just straight. I've seen plates with the shape of the crank hubs for the top and bottom of the press so both halves are trued when they go together. I'd love to setup for doing these, be easy to do stroker cranks then !
|
Dave (actionman) made this runout checking jig for cranks & has done a few now.


Mezo.
|
25 Apr 2015
|
|
Registered Users
Veteran HUBBer
|
|
Join Date: May 2012
Location: Lithuania
Posts: 204
|
|
Quote:
Originally Posted by Provick
Kind of surprised you didn't drop the motor.
Is there enough room for me to do base gasket with motor still in frame?
|
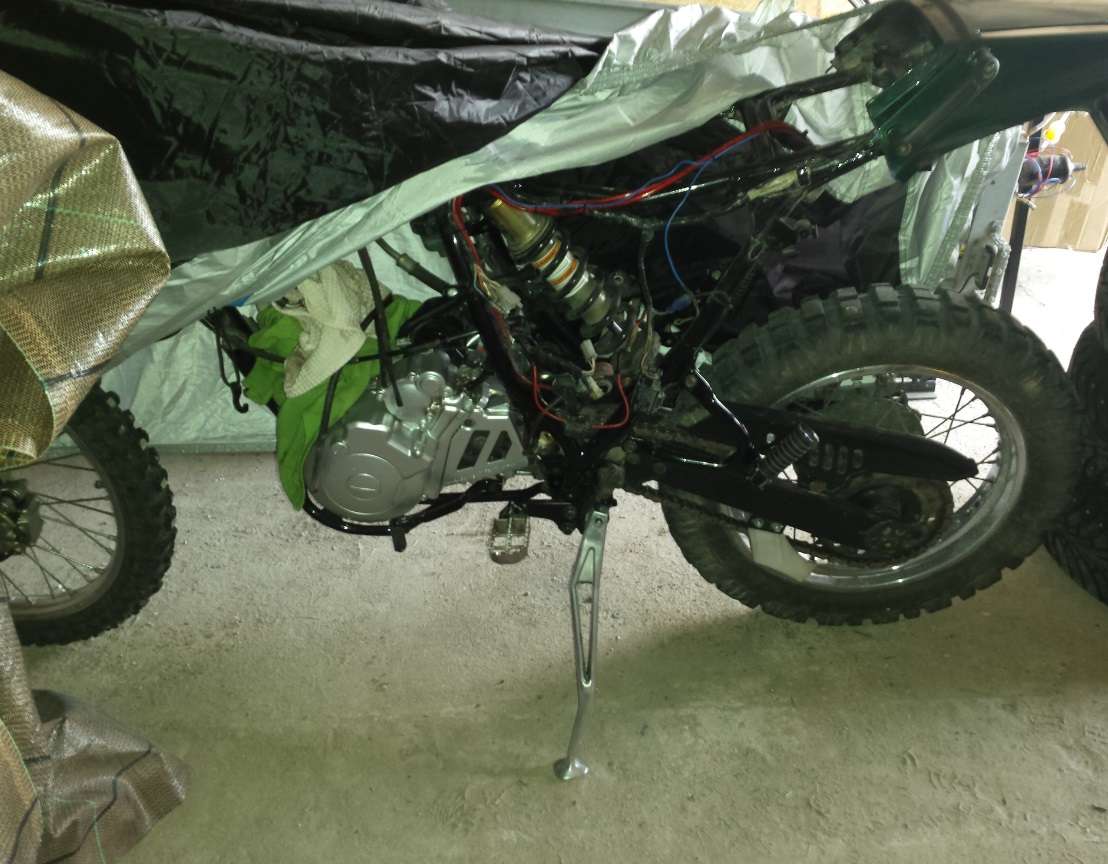
Yes, you can do the top end with the motor still in the frame.
I didn't have much room on the shelves at the moment, and I didn't want the engine laying on the floor, so I left it in the frame. Until now, and now it's completely disassembled, I wonder how I'll put it all back together  easily, maybe...
Mezo, I would gladly make something like that on my lathe, but I don't have a piece of metal big enough for that, haha! So an engineer's square will do for now, probably...
|
26 Apr 2015
|
|
Registered Users
Veteran HUBBer
|
|
Join Date: May 2012
Location: Lithuania
Posts: 204
|
|
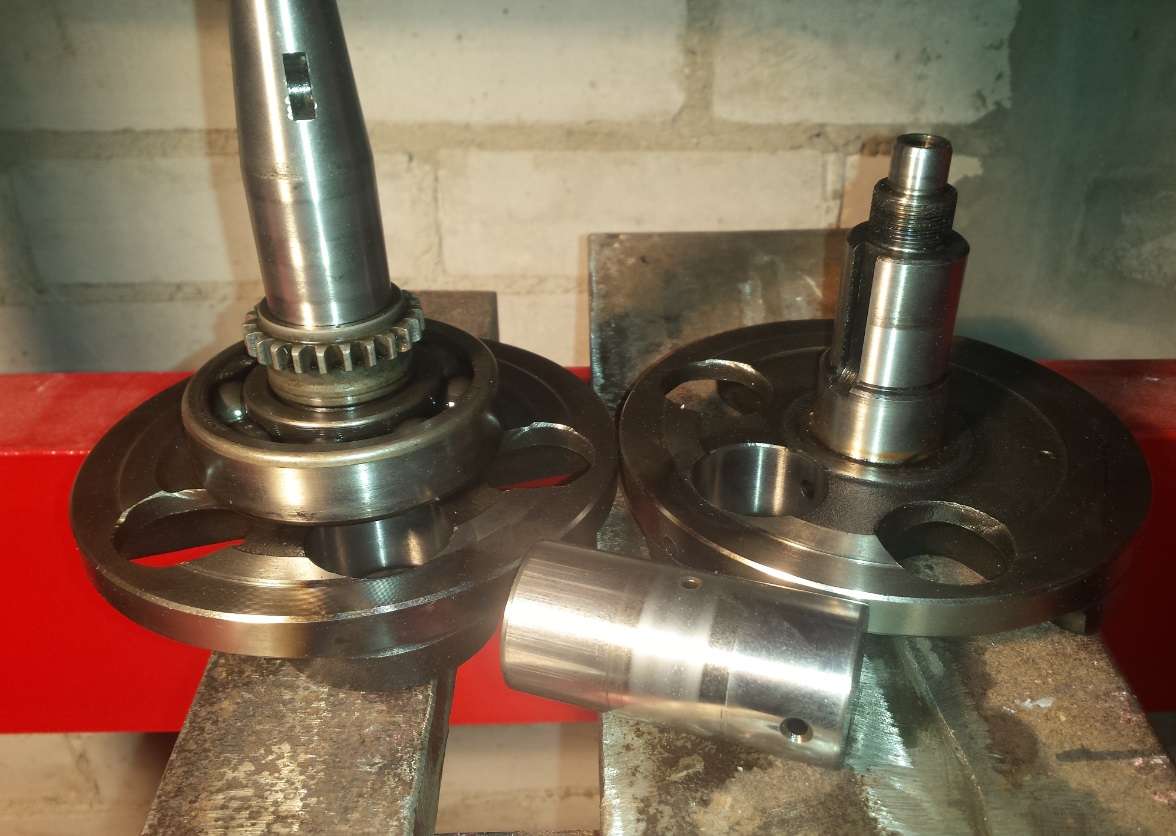
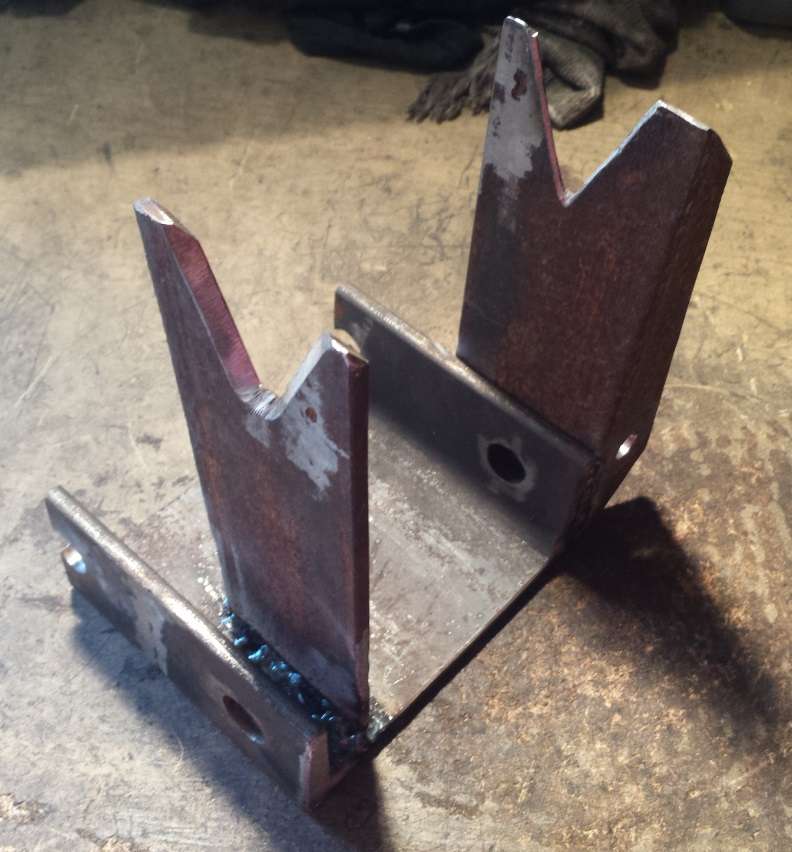
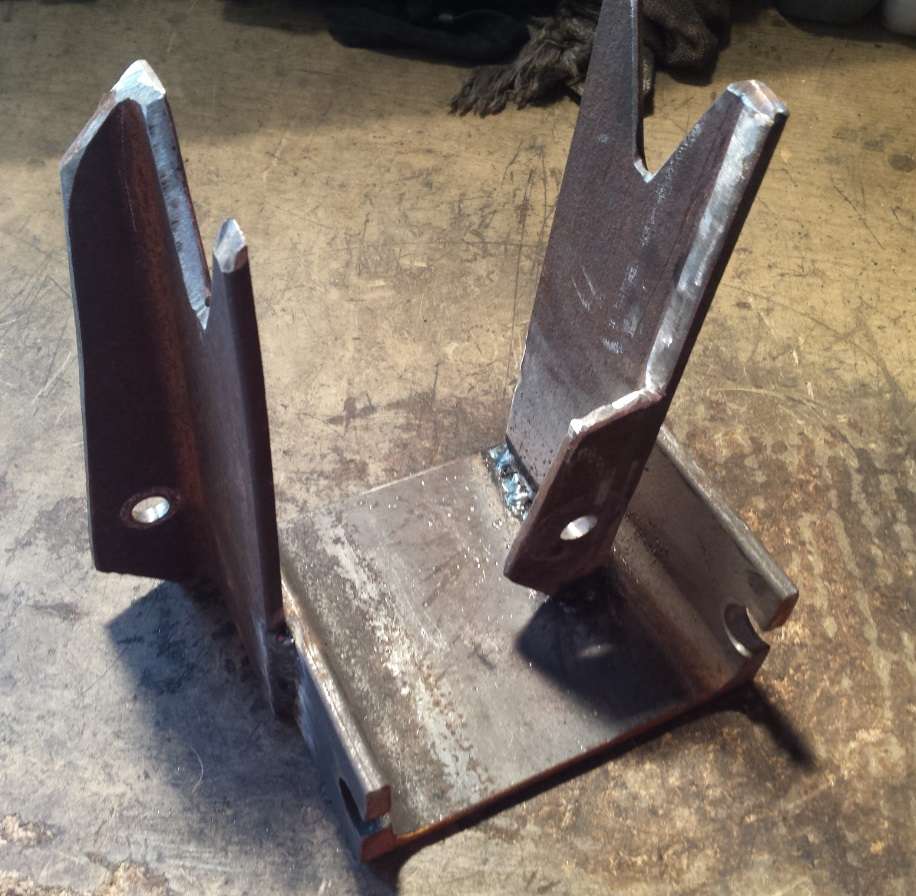
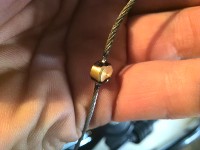
Crank halfway done...
Today I have reassembled the crank back together. Turned out quite well, looks pretty close to being true, but I'll check that next day with a micrometer, after I make a jig to hold up the crank while I'm turning it and measuring.
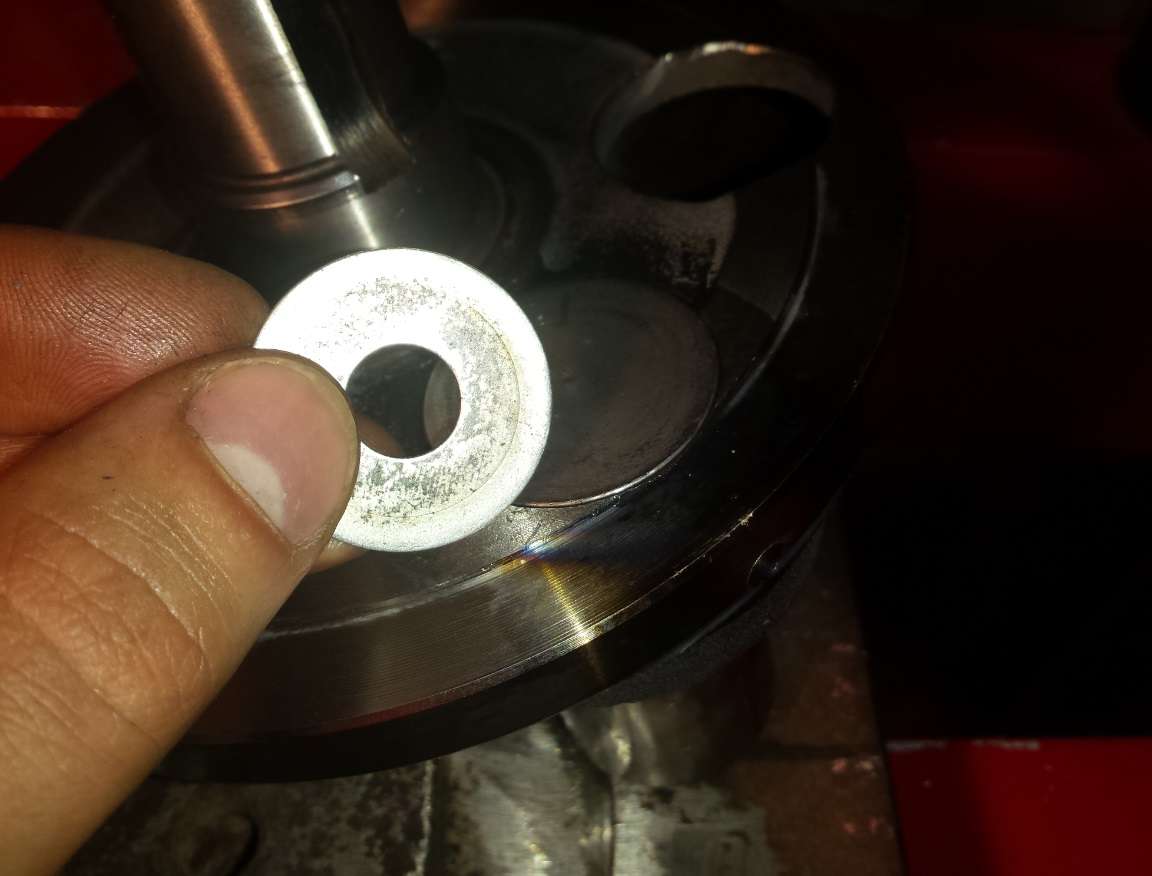
Firstly I pressed the pin into the right side crank half, where the oil feed is. After careful measuring I calculated that I need a 0.5mm washer to stop the pin from going too far, so that the oil feed passages are directly on top of each other.
Then came the bearing and the con rod.
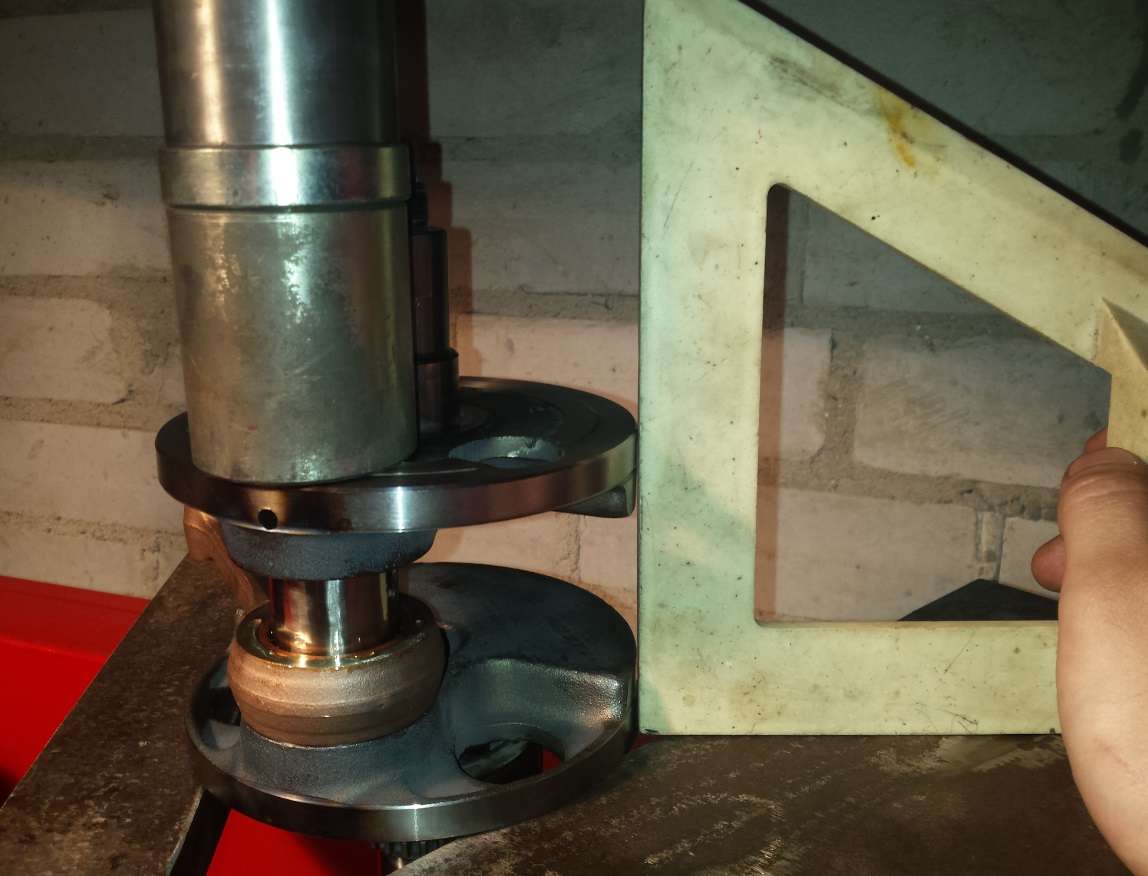
The engineer's square got me a bit off at the first try, when I pressed the second half on (not fully on though). After the second try I got it spot on (I think  ).
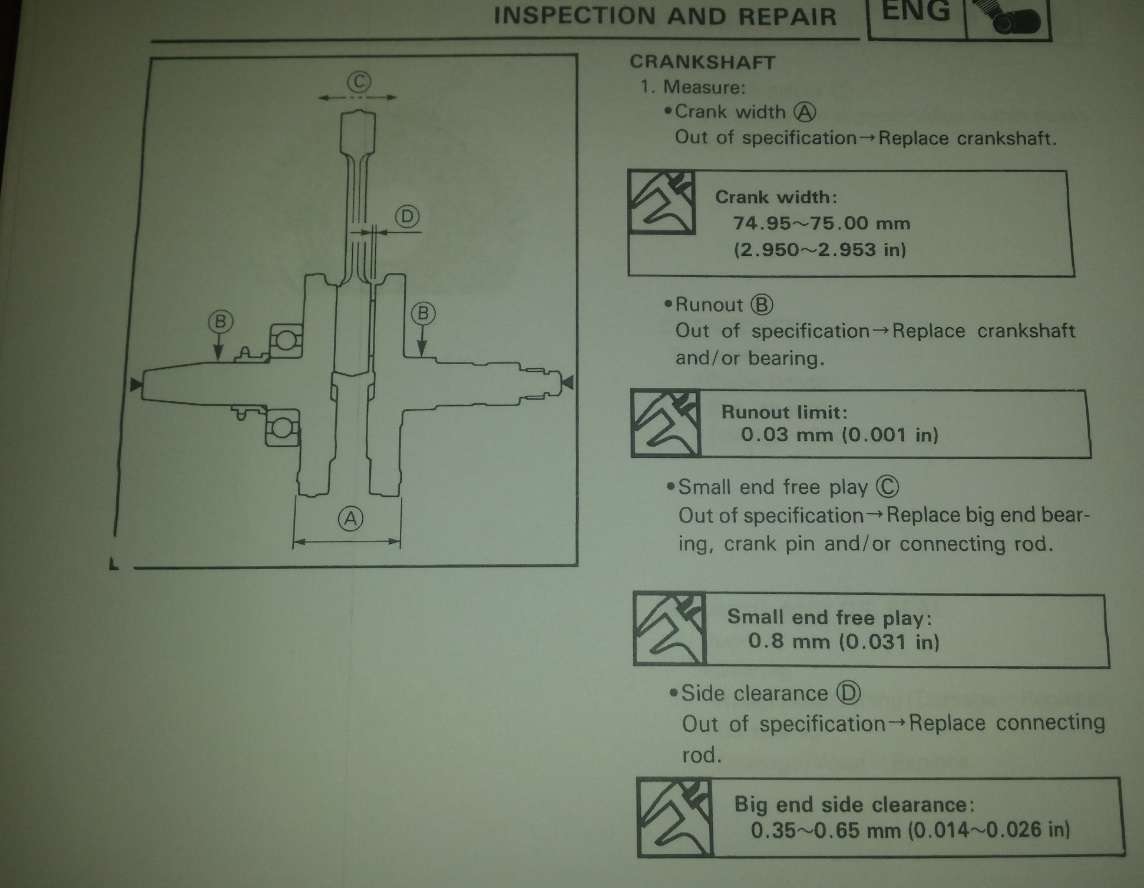
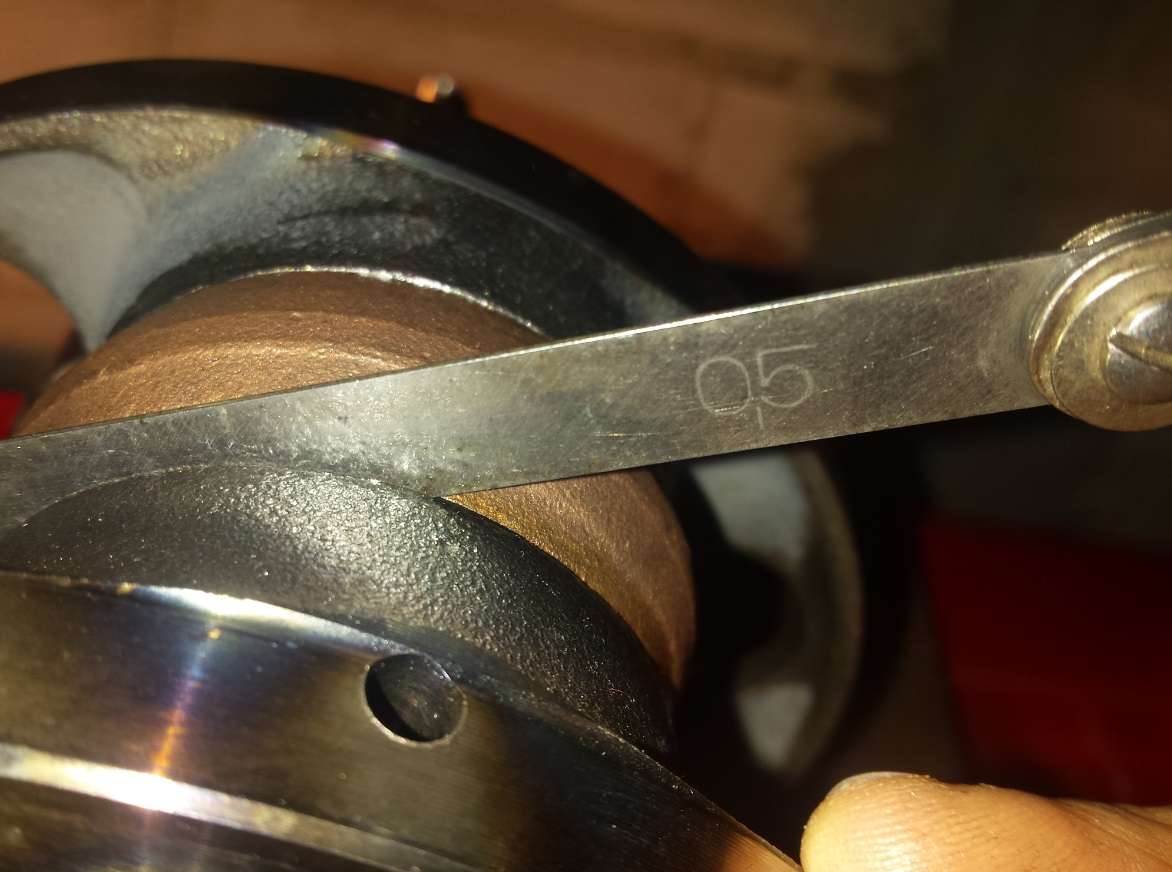
Big end side clearance is 0.35-0.65mm so I made it 0.5mm, the golden middle. But the crank is not 75mm wide, but 73.95mm wide, but the width is consistent over all perimeter.
I think the big end side clearance is more important that the overall width...
So that's it for now, truing to come. I don't know how my led hammer will perform, as it needed 15+ tonnes to press it all back together 
To be continued...

|
26 Apr 2015
|
|
Registered Users
Veteran HUBBer
|
|
Join Date: May 2013
Location: Wisconsin, USA
Posts: 827
|
|
I'd say the clearance between the rod and crank halves is the key measurement like you said. I like to put things on the tight side of tolerances, keeps stuff quiet. The thrust on the side bearings can be adjusted with shims but to an extent. Total length between bearing shoulders must be held also to keep the crank from moving side to side.
Be fussy about things now, it'll pay off down the road with a smooth motor. How heavy is that lead hammer? might take a bit of pounding to get it to move.
I like that jig Mezo posted , it should help keep those 2 halves lined up . As long as the hammer can get them to move and get into spec.

|
27 Apr 2015
|
|
Registered Users
Veteran HUBBer
|
|
Join Date: May 2012
Location: Lithuania
Posts: 204
|
|
Done! Done! Done!
After making a simple jig to hold up the crank, I trued it with a micrometer. At the beginning it was 0.15mm off center at the shafts. So I got it pretty close with an engineer's square.
With a bit of hammering I got it to 0.01mm at the right side and 0.02mm at the left side. Since around 0.04mm is okay (as far as I know), I got it better than required, and I'm happy about finishing the task I was dreading the most 
My led hammer is a bit over 2kg in weight. Took quite a bit of beating... It looks like the crank isn't moving, but it actually is.
My crank didn't have any shims at the big end bearing, also the con rod kit didn't include any shims, so I made it as it was.
Now I need some paint stripper, some paint, stainless bolts for all the engine, do the cylinder head and it can be reassembled.
|
29 Jun 2020
|
|
Registered Users
New on the HUBB
|
|
Join Date: Jun 2020
Posts: 1
|
|
Quote:
Originally Posted by Zergman
Sorry guys, long time no updates... 
While I'm working I don't have the time to go get the camera, etc., so mostly I take pictures with my phone, if I take pictures at all
But I promise I'll make some HQ pics when tinkering with my bike later on (and I will be, because the carb needs some more adjusting). If you have any specific spots you want to see please feel free to ask, once I'm taking pictures I will show you what you want to see.
I ended up buying:
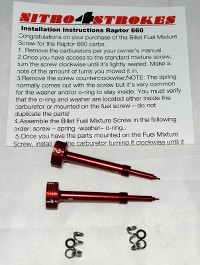
Raptor 660 billet aluminum fuel mixture screws
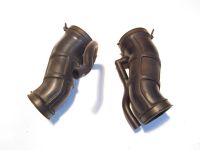
Raptor 660 air ducts
RU-4710 K&N air filter and filter oil + cleaner
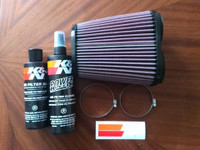
Outwears pre-filter (air filter cover)
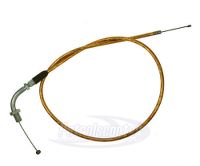
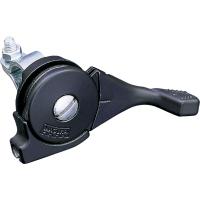
Honda CR throttle handle assembly
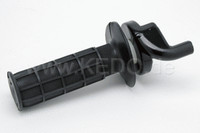
Honda CR throttle cable
Some "pit bike" throttle cable that had a 90 degree bend
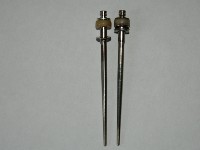
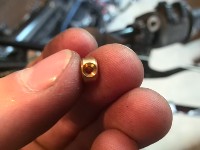
Mikuni pilot jets #22.5 and 27.5 (#25 was already installed)
Mikuni main jets from #137.5 to #150 (#165 and #170 was installed)
Mikuni small main jet #80 for choke (#95 was installed)
Magura choke lever
Jet needles were already some after market performance ones, so I was happy I "saved" on them
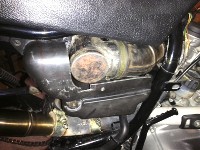
Moving on to the "work" station:
the rubber cylinder head - carb boots were slightly modified, some excess rubber was cut out so that the carbs could go deeper in the boots. I had cut approximately 1-1.5mm, the "rim" that keeps the sealing collars (I guess that's what they are called) from moving too far to the carb side. Not in the pictures, but I'll make some pics later on...
The carb itself was ground down in the places that touched the intake boots, also to make it slide deeper in the boots.
Carb was re-jetted to Vando's specs (#25 pilots, #145 mains and needles on the second (I think) groove with thick plastic shims, which I later changed to #22.5 pilots and #142.5 mains, which are probably too lean... "to be continued").
Throttle handle, cable, 90 degree bend (from another cable I bought) were installed.

Choke lever and cable installed (cable was re-used, the one I took the 90deg bend off). The choke cable was shortened, and a cable tip that came with the Magura choke lever was soldered on.

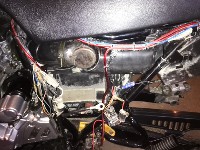
Both carb diaphragm breather pipes were cut, shortened to approximately 1cm, to make more room for the breather hoses so they could clear the frame.
(picture with uncut pipes)

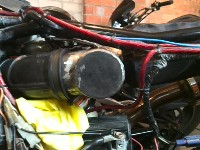
Then came the hard(er) part: how to join the Raptor 660 air filter-carb boots to the air filter? It had to be something simple, yet durable and small enough, so that the air filter is close enough to the carb that it clears the frame tubes. I got the joining part made from a 60mm metal pipe (yeah, I know, not too light, but heck, maybe in the future I'll get it made from aluminum).
It came out great, with two attachments to the original air filter box mounts (the third had to be cut off the frame). It also had a crankcase breather pipe, so my headaches of "where to connect it!?" were finished. And the air filter won't wobble up and down under the seat...
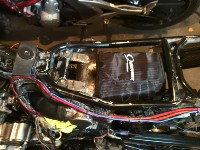

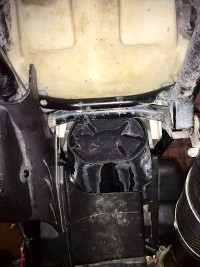
Okay, now I need to cover the air filter and mount the battery somewhere. But where? I thought I might need to make a special mount for the battery, then make the covers from tin metal (very thin sheet metal). But that's a lot of unnecessary work... And a heavy custom part too.
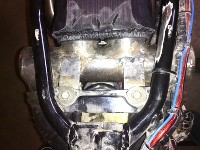
So I took my old air filter box, and started cutting it  I butchered it to the point where I had probably less than 60% of it left.
So I saved the battery mount, flasher and fuse mounts, most of the mudguard surface. I also had it clearing the air filter and the metal pipe connector, so all good.
 |
Hello, where did you get the jets? What kinds did you end up with?
Did you find all the correct parts you needed? I have ordered the carbs, and i will order the intake manifoilds as well. What kind of cables did u end up using? Looking forward to a reply. Fingers crossed 
Ended up ordering these carbs: https://www.ebay.com/itm/392631109475
Any 1 know what kind of jets is used? Where i can order correct for the xtz 660?
Last edited by Blesm; 29 Jun 2020 at 20:05.
Reason: Forgot some info..
|
30 Jun 2020
|
|
Registered Users
Veteran HUBBer
|
|
Join Date: Feb 2012
Location: Milan, Italy
Posts: 627
|
|
|
Zergamn = Belsm?
|
30 Jun 2020
|
 |
HU Founder
Veteran HUBBer
|
|
Join Date: Dec 1997
Location: BC Canada
Posts: 7,383
|
|
Quote:
Originally Posted by turboguzzi
Zergamn = Belsm?
|
I think not, Blesm just messed the quote up, fixed now.
__________________
Grant Johnson
Seek, and ye shall find.
------------------------
Inspiring, Informing and Connecting travellers since 1997!
www.HorizonsUnlimited.com
|
30 Jun 2020
|
|
HU Founder
Veteran HUBBer
|
|
Join Date: Dec 1997
Location: BC Canada
Posts: 7,383
|
|
|
BTW - a tip on truing cranks - you can put it in a vise, kinda crossways a bit, using soft alloy jaws of course, and squeeze to align the wheels. Used to do two stroke cranks all the time that way. Then squeeze the faces or put a chisel in between to align the other direction. Rarely used a hammer except on the chisel.
__________________
Grant Johnson
Seek, and ye shall find.
------------------------
Inspiring, Informing and Connecting travellers since 1997!
www.HorizonsUnlimited.com
|
|
Currently Active Users Viewing This Thread: 5 (0 Registered Users and/or Members and 5 guests)
|
|
|
 Posting Rules
|
You may not post new threads
You may not post replies
You may not post attachments
You may not edit your posts
HTML code is Off
|
|
|
|

Check the RAW segments; Grant, your HU host is on every month!
Episodes below to listen to while you, err, pretend to do something or other...

2020 Edition of Chris Scott's Adventure Motorcycling Handbook.
"Ultimate global guide for red-blooded bikers planning overseas exploration. Covers choice & preparation of best bike, shipping overseas, baggage design, riding techniques, travel health, visas, documentation, safety and useful addresses." Recommended. (Grant)

Led by special operations veterans, Stanford Medicine affiliated physicians, paramedics and other travel experts, Ripcord is perfect for adventure seekers, climbers, skiers, sports enthusiasts, hunters, international travelers, humanitarian efforts, expeditions and more.
Ripcord Rescue Travel Insurance™ combines into a single integrated program the best evacuation and rescue with the premier travel insurance coverages designed for adventurers and travel is covered on motorcycles of all sizes.
(ONLY US RESIDENTS and currently has a limit of 60 days.)
Ripcord Evacuation Insurance is available for ALL nationalities.
What others say about HU...
"This site is the BIBLE for international bike travelers." Greg, Australia
"Thank you! The web site, The travels, The insight, The inspiration, Everything, just thanks." Colin, UK
"My friend and I are planning a trip from Singapore to England... We found (the HU) site invaluable as an aid to planning and have based a lot of our purchases (bikes, riding gear, etc.) on what we have learned from this site." Phil, Australia
"I for one always had an adventurous spirit, but you and Susan lit the fire for my trip and I'll be forever grateful for what you two do to inspire others to just do it." Brent, USA
"Your website is a mecca of valuable information and the (video) series is informative, entertaining, and inspiring!" Jennifer, Canada
"Your worldwide organisation and events are the Go To places to for all serious touring and aspiring touring bikers." Trevor, South Africa
"This is the answer to all my questions." Haydn, Australia
"Keep going the excellent work you are doing for Horizons Unlimited - I love it!" Thomas, Germany
Lots more comments here!

Every book a diary
Every chapter a day
Every day a journey
Refreshingly honest and compelling tales: the hights and lows of a life on the road. Solo, unsupported, budget journeys of discovery.
Authentic, engaging and evocative travel memoirs, overland, around the world and through life.
All 8 books available from the author or as eBooks and audio books
Back Road Map Books and Backroad GPS Maps for all of Canada - a must have!
New to Horizons Unlimited?
New to motorcycle travelling? New to the HU site? Confused? Too many options? It's really very simple - just 4 easy steps!
Horizons Unlimited was founded in 1997 by Grant and Susan Johnson following their journey around the world on a BMW R80G/S.
 Read more about Grant & Susan's story
Membership - help keep us going!
Horizons Unlimited is not a big multi-national company, just two people who love motorcycle travel and have grown what started as a hobby in 1997 into a full time job (usually 8-10 hours per day and 7 days a week) and a labour of love. To keep it going and a roof over our heads, we run events all over the world with the help of volunteers; we sell inspirational and informative DVDs; we have a few selected advertisers; and we make a small amount from memberships.
You don't have to be a Member to come to an HU meeting, access the website, or ask questions on the HUBB. What you get for your membership contribution is our sincere gratitude, good karma and knowing that you're helping to keep the motorcycle travel dream alive. Contributing Members and Gold Members do get additional features on the HUBB. Here's a list of all the Member benefits on the HUBB.
|
|
|


 Linear Mode